Whether it’s a single stem or a bouquet, flowers make us feel emotion. The gift of flowers expresses love, joy, sorrow, and often so much more. For centuries, flowers have been given as gifts, and for good reason: They are accessible, beautiful, timeless and add warmth to any space. Flowers can make a house feel like home.
As a florist, creating an arrangement is a way I can help others celebrate a moment in time—it’s part of the story they are telling. It’s one reason I enjoy creating arrangements for events and weddings, but I know sometimes your story isn’t a big event—it’s about finding joy in the everyday. And sometimes, splurging on an arrangement isn’t in the budget. Here’s how to turn a grocery store bouquet into an arrangement that will help you express yourself.
Step 1: Shopping
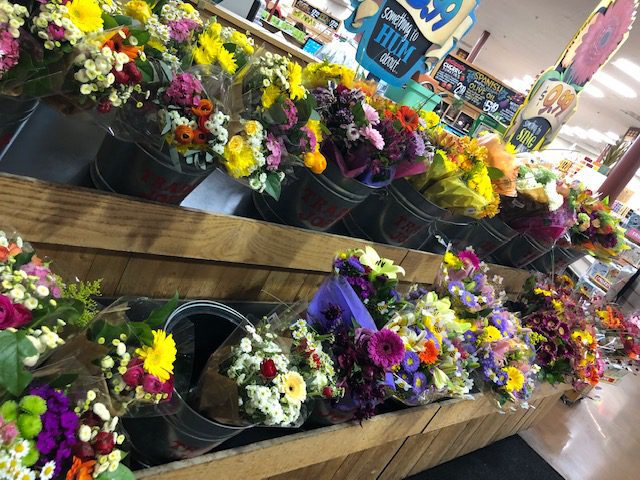
You can usually find several options for mixed bouquets, in different price ranges at your favorite grocery store. I tend to look for color combinations that I like best. If I can’t find a mixed bouquet I want, I will buy a few bunches of single flower types to combine into a bouquet.
Step 2: Get the plants in water!
The first thing you need to do when you get home from the store (after you put away the milk) is to get your flowers into water. Most likely, they are thirsty and will perk up after a few hours in water.
To make sure they drink, clip at least two inches up the stem, and stick the bunch into water within 30 seconds. Sometimes you can tell the flower has started to rot because it’s been sitting in water without a fresh clipping. In those cases, you’ll want to clip above the rotten area before sticking the plant in water. You’ll also want to remove any packaging material from around the flowers—plastic wrap will encourage rot.
Step 3. Prep your flowers
Now that the groceries are all put away, dinner is started, and your plants are no longer thirsty, you can start prepping your flowers. I tend to pull the entire bundle out of the water, take each stem one at a time, and clip off any thorns and all leaves that will fall below the water line. This will prevent bacteria from growing and keep your flowers fresher, longer.
I tend to remove almost all leaves since I like a cleaner look. If you are working with roses, the outer layer usually has blemishes and you can easily renew your rose by popping the outer petals off one at a time until you have a clean rose.
As I clean each flower, I like to place them into their flower groups, and most bouquets will come with three to four different types of flowers. I like to know how much I’m working with before I start arranging, so if I’m going to arrange it later, I’ll place each flower in a different vase, by kind. If I’m going to arrange right away, I lay them in groups. It really depends on the timeline.
Step 4. Pick a vase
You can really do this step at any time. Even if you need to buy one with your flowers, pretty much all grocery stores carry an assortment of vases. I like to start with a taller vase, that way, when I change the water out and clip the flowers every two to four days, I can work down to a smaller vase.
Certain vases are designed for certain flowers. Depending on if the flowers stand up or naturally droop, the proper vase will highlight them. For this exercise, I am going to arrange the flowers in a simple, large mason jar—everyone has access to them and they are cheaper than most vases. Prep your jar with the flower food (most bouquets come with a little pack), and fill about halfway with water.
Step 5. Arrange
First, you’ll want to decide if you’re going to make a one-sided arrangement or one with 360-degree view. Next, add greenery to the vase. Most mixed arrangements come with a few different types of greenery, and it will help you figure out the shape of the arrangement.
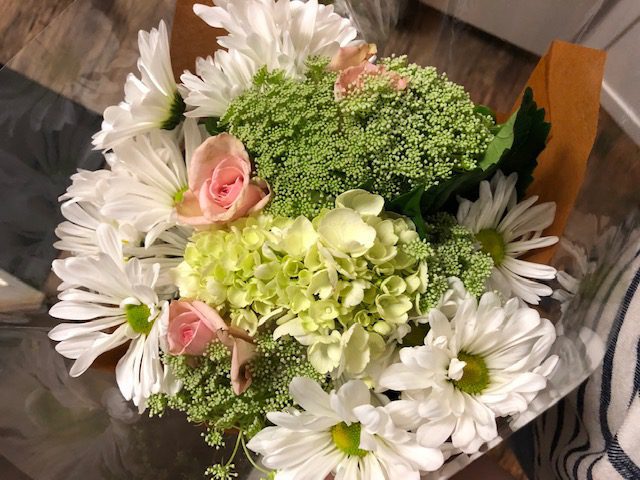
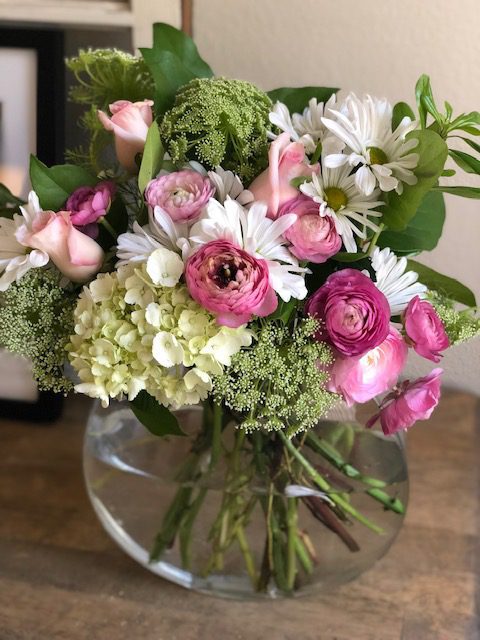
To select the height of the arrangement, I usually put a few roses higher up, to make sure I keep that height. Next, I go to the biggest flower. In the mixed bouquet I picked, there was one light green hydrangea. Hydrangeas are a great flower to cut shorter and have low in your arrangement. It anchors your arrangement, and keeps the height balanced with the big vase I chose. It’s all about balance. (Please note: the hydrangea wilted overnight. I must have not put it all the way into the water. After a few hours back in water, it perked back up, and days later its still looking great. Don’t just toss a wilted flower. Give it a chance to come back to life!)
Fill in the bouquet with the rest of your flowers. I had a bunch of daisies I added to the mix. As you fill in the bouquet, remember to keep the colors balanced on all sides. It doesn’t have to match all around, it just needs to look balanced.
In addition to the mixed bouquet I got, I saw a bunch of pink ranunculus I had to include. I put these in last since they are delicate. The less you handle them, the better. Don’t forget, that as your add each flower, to clip the end of the stem about a half an inch and stick it right into the water, it you need to take it out, reclip it.
Good luck arranging!


